Upgrading or repairing a bathroom faucet is one of the most rewarding do-it-yourself projects for homeowners. Not only does it enhance the functionality and aesthetics of the space, but it also offers an opportunity to save money on professional installation. Whether replacing an old, leaky faucet or installing a stylish new one, a well-executed DIY project can transform the look and efficiency of a bathroom with just a few tools and some patience.
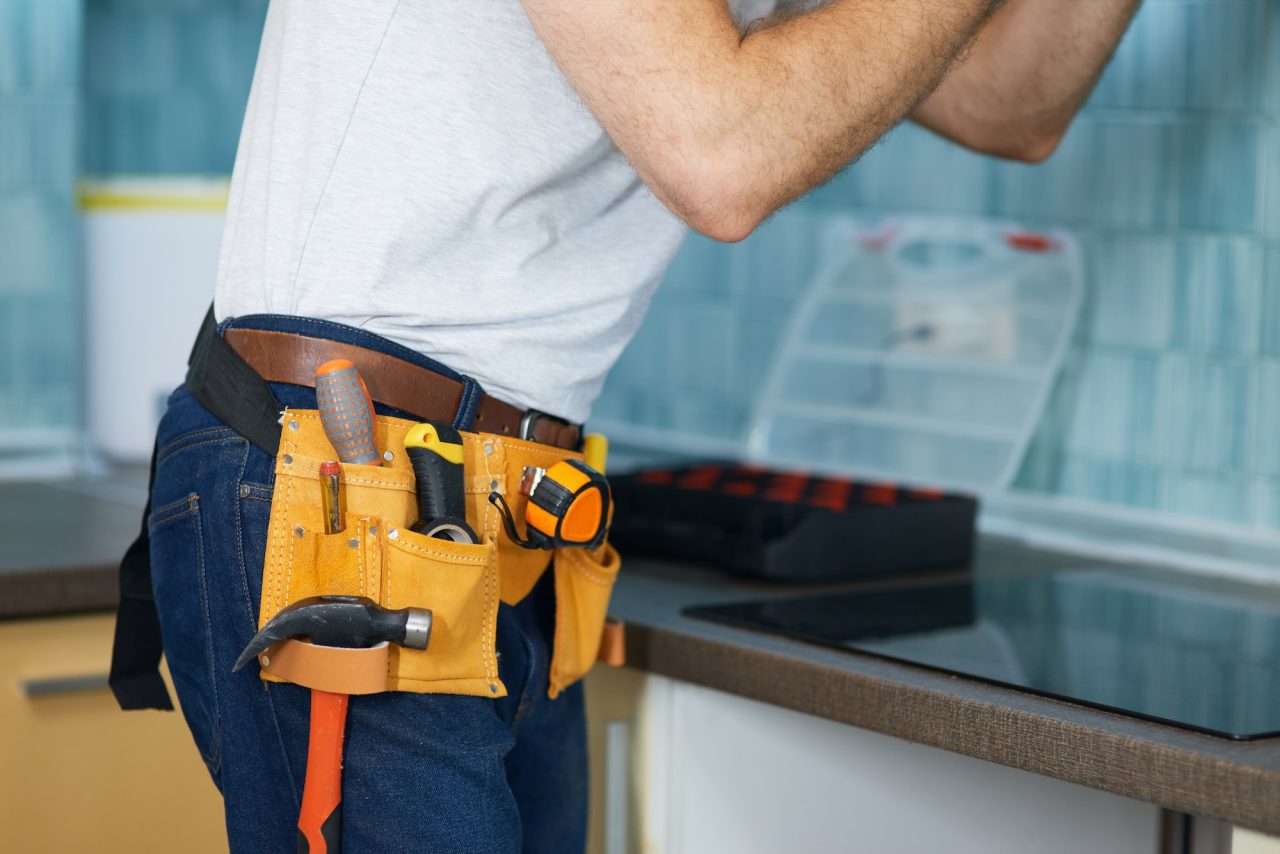
The first step in any faucet project is selecting the right model. Bathroom faucets come in various styles, including single-handle, double-handle, wall-mounted, and vessel options. The choice depends on the sink configuration and personal preference. For example, a single-handle faucet offers ease of use and a modern look, while a double-handle design provides precise temperature control and a classic appearance. Additionally, finishes like chrome, brushed nickel, or matte black can complement the bathroom’s décor. It’s important to check the faucet’s compatibility with the sink’s pre-drilled holes to avoid unnecessary modifications. Before beginning the installation, gathering the necessary tools is essential. A basic toolkit should include an adjustable wrench, plumber’s tape, a bucket, and a flashlight for visibility under the sink. Turning off the water supply is a critical safety step to prevent leaks or flooding. Most homes have shut-off valves beneath the sink, but if not, the main water supply must be turned off. Once the water is disconnected, the old faucet can be removed by loosening the mounting nuts and carefully lifting it away. Cleaning the sink surface afterward ensures a smooth installation for the new faucet. Installing the new faucet involves securing it to the sink and reconnecting the water supply lines. Plumber’s tape should be wrapped around the threads of the connections to prevent leaks. Tightening the nuts by hand first and then with a wrench ensures a secure fit without over-tightening, which can damage the fittings. After reassembling the plumbing, turning the water back on slowly allows for a careful check of any leaks. Testing the faucet’s hot and cold functions confirms proper installation. For those seeking a more advanced DIY challenge, wall-mounted faucets or touchless models offer modern upgrades but may require additional plumbing adjustments. These projects often involve cutting into walls or installing new supply lines, so thorough research or consultation with a professional may be necessary beforehand. A well-planned faucet upgrade not only improves daily convenience but also adds value to the home. With careful preparation and attention to detail, even novice DIYers can successfully complete this project, achieving both functional and aesthetic improvements in their bathroom. Taking on such tasks fosters a sense of accomplishment and encourages further home improvement endeavors.