As the colder months settle in, the familiar gurgle or persistent cold spot at the top of a radiator signals a common household issue: trapped air. Learning how to bleed a radiator is an essential piece of home maintenance that restores heating efficiency, reduces energy bills, and ensures a comfortably warm environment. The process, while simple, requires a methodical approach and a few basic tools to be performed safely and effectively.
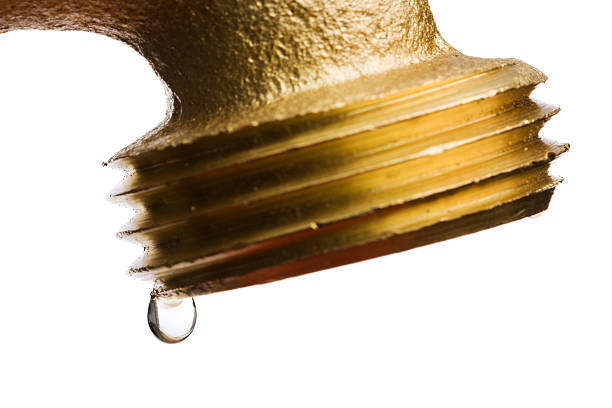
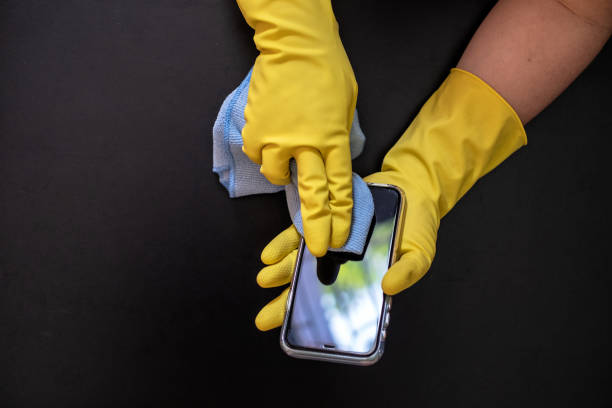
Before beginning, it is crucial to understand why bleeding is necessary. Heating systems use water to transfer heat throughout your home. Over time, air from the water or from minor leaks can accumulate at the top of the radiators, forming a pocket that prevents the hot water from filling the entire unit. This airlock acts as an insulator, causing the radiator to feel cool at the top while the bottom remains hot, significantly reducing its output. The first preparatory step is to identify which radiators need attention. Start your heating system and allow it to run until all radiators are fully warm. Carefully feel each one, comparing the temperature at the top to the temperature at the bottom. Any radiator with a noticeable cool patch at the top likely contains trapped air and requires bleeding.Gathering the correct tools is paramount for a smooth operation. You will need a radiator key, a flat-head screwdriver, or a specialized bleeding key that fits the valve at the top of your radiator. These are inexpensive and widely available at hardware stores. It is also wise to have a small container, such as an old towel or a shallow bowl, and some cloths to catch any drips of water. For safety, consider wearing gloves to protect your hands from hot water. Crucially, you must turn off your central heating system and allow the radiators to cool completely. This step is non-negotiable, as bleeding a hot radiator poses a scalding risk and can introduce more air into the system due to the pressure changes from hot water.With the system off and cool, locate the bleed valve. This is typically a small, square-headed nipple found at the top of one end of the radiator. Insert your key or tool into the valve, ensuring a firm fit. Place your catching container directly underneath the valve to intercept any water. Hold your cloth around the valve with one hand to control any spray. Using your other hand, slowly turn the key counter-clockwise, usually no more than a quarter or half turn. You will hear a distinct hissing sound as the trapped air escapes. This is the air being bled from the system. Keep the valve open until the hiss subsides and a steady trickle of water emerges. At this point, promptly turn the key clockwise to tighten the valve firmly, being careful not to overtighten and damage the thread.Once all problematic radiators have been bled, the final step is to repressurize your boiler if you have a sealed system. Consult your boiler’s manual, but generally, this involves using the filling loop, often located beneath the boiler, to bring the pressure gauge back into the green zone, typically between one and two bars. With the pressure restored, you can turn your heating system back on. Check the radiators you bled to ensure they are now heating evenly from top to bottom, and listen for any residual gurgling sounds. A small repeat bleed a day later may sometimes be necessary to clear any remaining air pockets.Mastering the art of bleeding a radiator empowers you to maintain an efficient and cost-effective heating system. This straightforward task, performed perhaps once a season, ensures that the warmth generated by your boiler is fully realized in every room, banishing cold spots and contributing to a cozy, energy-conscious home. It is a perfect example of how a minor intervention can yield significant improvements in comfort and household economy.