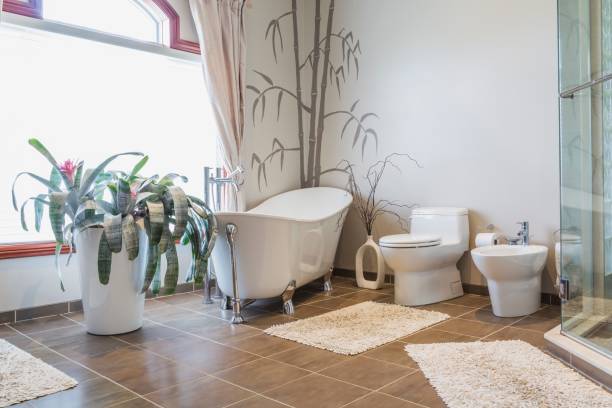
Faux wood blinds offer the timeless elegance of real wood with added durability, making them an excellent choice for homeowners seeking both style and functionality. Unlike natural wood, faux wood resists moisture, warping, and fading, making it ideal for high-humidity areas like kitchens and bathrooms. For DIY enthusiasts, installing faux wood blinds is a manageable project that can dramatically enhance a room’s aesthetic while providing light control and privacy. With careful planning and the right tools, this upgrade can be completed efficiently, even by those with limited experience.
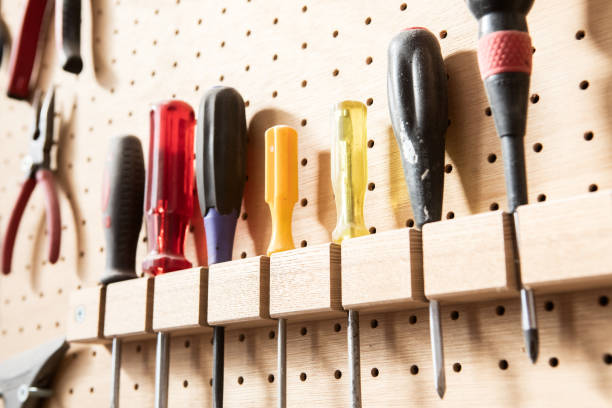
The first step in a successful faux wood blinds project is accurate measurement. Unlike curtains, blinds require precise dimensions to ensure a proper fit within the window frame or on the wall. For an inside mount, measure the width at the top, middle, and bottom of the window, using the narrowest measurement to guarantee the blinds will operate smoothly. The height should also be measured in multiple spots to account for any irregularities in the window frame. An outside mount, which hangs above the window, offers more flexibility and can make the window appear larger. In this case, the blinds should extend at least two inches beyond the window frame on each side for optimal coverage and a polished look. The right style of faux wood blinds is equally important. These blinds come in various slat widths, typically ranging from two to three inches, with wider slats offering a more modern appearance and better visibility when open. The color and finish should complement the room’s decor, whether it’s a classic white for a crisp, clean look or a wood-grain finish for warmth and texture. Some blinds also come with cordless or motorized options, which are safer for homes with children and pets while adding a touch of convenience. Installation is straightforward but requires attention to detail. Most faux wood blinds come with mounting brackets, screws, and detailed instructions. Key tools include a drill, level, and screwdriver to ensure the brackets are securely and evenly attached. A level is essential to prevent crooked blinds, which can affect both functionality and appearance. Once the brackets are in place, the blinds simply snap into position, and final adjustments can be made to the length and tilt mechanism. Beyond their practicality, faux wood blinds can be customized to reflect personal style. Adding decorative valances or side panels can soften their look, while layering them with sheer curtains creates a versatile light-filtering solution. For a cohesive design, coordinate the blinds with other wood finishes in the room, such as furniture or trim. DIY faux wood blinds projects are a cost-effective way to elevate a home’s interior. By focusing on precise measurements, selecting the right design, and following installation steps carefully, homeowners can achieve a professional-quality result. This upgrade not only enhances privacy and light control but also adds value and sophistication to any space. With their durability and timeless appeal, faux wood blinds are a smart investment for those looking to combine practicality with style in their DIY endeavors.


