The pursuit of a perfectly dark room is a quest for better sleep, improved home theater experiences, and energy efficiency. While blackout shades are a powerful tool in this endeavor, their effectiveness is not guaranteed by the label alone. Achieving true light elimination requires a thoughtful approach to selection, installation, and complementary treatments. To make your blackout shades more effective, you must address the three critical areas of light leakage: the fabric itself, the perimeter gaps, and the integration with your existing window framework.
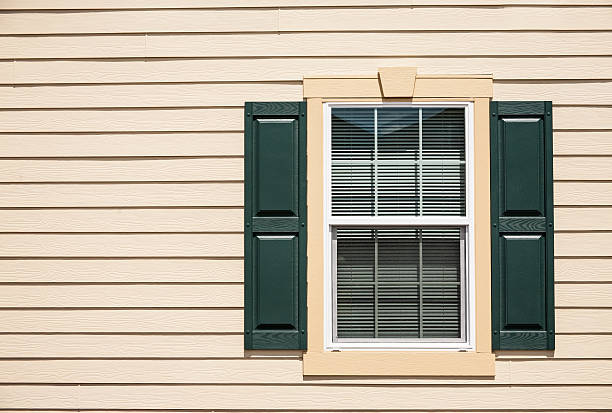
First, the foundation of effectiveness lies in the material and construction of the shade. Not all blackout fabrics are created equal. For maximum light blockage, seek out shades that feature a triple-weave fabric or a layered construction with a dense, opaque core, often a rubberized or acrylic backing. This core is what physically prevents light transmission. When shopping, physically test the fabric by holding it up to a bright light source; true blackout material will allow no pinpricks of light to pass through. Furthermore, consider the color of the facing fabric. While the backing is crucial, a darker facing color, such as charcoal or navy, will absorb more incidental light that enters the room and reflects off the shade’s surface, compared to a white or light-colored face which can create a subtle glow.However, even the most impervious fabric is rendered ineffective if light streams in around the edges. This is where installation becomes paramount. The goal is to create a light seal. For the most dramatic results, shades should be installed using an inside-mount method within the window recess, or casing. This allows for the addition of side channels or guide tracks—vertical grooves that the edges of the shade tuck into, blocking light from seeping in along the left and right sides. If an outside mount is your only option, ensure the shade’s mounting bracket extends several inches beyond the window frame on all sides. The shade itself should be wide and long enough to completely overlap the frame, creating a generous overlap that light cannot circumvent. For either mount type, paying close attention to the headrail is essential. A headrail with a built-in front valance or one that is flush to the wall will significantly reduce light leakage from the top.Finally, to achieve near-total blackout conditions, your shades must work in concert with other elements. Treating blackout shades as a single layer in a comprehensive light-blocking strategy yields the best results. Pairing them with blackout-lined curtains is a classic and highly effective technique. The curtains can be drawn over the fully lowered shades, covering any perimeter gaps and adding an extra buffer of material. For persistent light around the edges, especially with inside mounts, consider applying blackout tape or Velcro-backed light-sealing strips to the window frame itself. Additionally, do not overlook smaller vulnerabilities. Apply a draft stopper or a fabric-covered foam rod along the windowsill to seal the bottom gap where the shade meets the sill. For windows that are particularly problematic, such as those with cranks or atypical shapes, using a professional installer can ensure custom solutions that address these unique challenges.In essence, transforming your blackout shades from good to exceptional is a holistic process. It begins with selecting a genuinely opaque material, is cemented by a meticulous installation focused on sealing the perimeter, and is perfected by integrating supplementary treatments to address any remaining points of failure. By adopting this multi-faceted approach, you can conquer unwanted light, creating a serene, dark sanctuary that supports restful sleep, enhances media viewing, and provides superior insulation against both sunlight and temperature extremes. The result is not just a window covering, but a complete light elimination system.