Drywall installation and repair are fundamental skills for homeowners looking to tackle renovation projects or fix unsightly wall damage. While the process may seem intimidating to beginners, with proper preparation and technique, DIYers can achieve smooth, seamless walls that rival professional work. Whether you're patching small holes, hanging new sheets, or refinishing an entire room, understanding the key steps of drywall work ensures durable and aesthetically pleasing results.
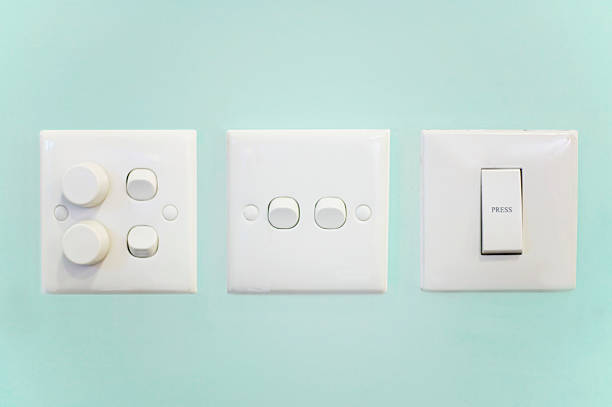
The foundation of any successful drywall project begins with accurate measurements and careful planning. When replacing large sections or installing new walls, sheets should be cut to minimize seams and avoid awkward small patches. Using a utility knife to score the paper facing followed by a firm snap creates clean edges for precise fitting. For repairs, the damaged area should be squared off to provide a stable base for the new drywall piece. Proper support is crucial—backer boards or wood framing must be secured behind replacement sections to give the patch structural integrity and prevent future cracking. Hanging drywall requires attention to detail in fastener placement. Screws should be driven just below the surface without breaking the paper facing, spaced every 12 inches along studs for ceiling applications and every 16 inches for walls. A cordless drill with a drywall screw setting helps prevent overdriving, while joint compound conceals the fastener dimples during finishing. For corners, pre-formed metal or plastic corner beads create crisp edges that withstand everyday wear. Special consideration should be given to electrical boxes and fixtures—precise cutouts can be made using a drywall saw or rotary tool for perfect fit around outlets and switches. The artistry of drywall work shines during the finishing process. Applying joint compound in thin, even layers with progressively wider trowel strokes blends seams and creates an invisible transition between panels. Each coat must dry completely before sanding or applying the next layer, with the final sanding done using fine-grit paper for a glass-smooth surface. For beginners, setting-type compounds offer faster drying times and stronger bonds, while pre-mixed varieties provide easier handling. Texturing techniques like orange peel or knockdown can be practiced on scrap pieces before application to match existing wall finishes. Beyond basic installation, advanced DIYers can explore curved drywall techniques for arched openings or creative wall designs. Flexible drywall or strategic kerf cutting allows for smooth radius work, while reinforced corners prevent damage in high-traffic areas. Proper priming before painting ensures uniform absorption and reveals any imperfections needing final touch-ups. While drywall projects demand patience and practice, the satisfaction of transforming damaged walls or creating new spaces makes the effort worthwhile. By mastering measurement, hanging, and finishing techniques, homeowners gain valuable skills that save thousands in contractor costs while achieving professional-grade results. With each project, DIYers develop greater confidence to take on more complex wall treatments, turning basic repairs into opportunities for home improvement mastery.


