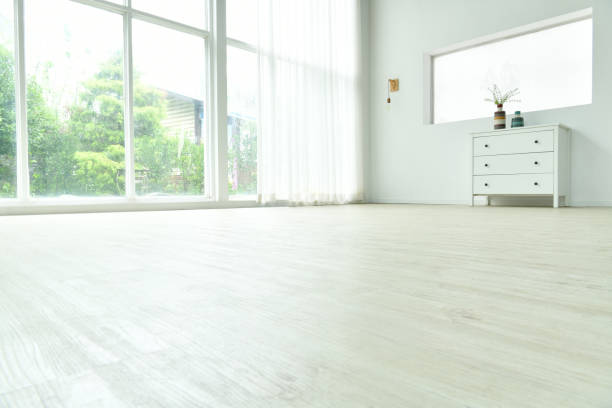
Laminate flooring has become a popular choice for homeowners seeking an affordable, durable, and visually appealing alternative to hardwood. With its easy click-lock installation system and wide variety of styles mimicking wood, stone, or tile, laminate offers a DIY-friendly solution for updating floors without professional help. However, a successful laminate flooring project requires careful planning, proper preparation, and attention to detail to achieve professional-looking results that stand the test of time.
The first step in any laminate flooring project is selecting the right product for the space. Laminate planks come in varying thicknesses, typically ranging from 8mm to 12mm, with thicker options providing better sound absorption and stability. The AC rating, which measures durability, should align with the room’s traffic level—a rating of AC3 works well for most residential spaces, while AC4 or AC5 is better suited for high-traffic areas. Water-resistant or waterproof laminates are ideal for kitchens, bathrooms, or basements where moisture exposure is a concern. Once the appropriate laminate is chosen, calculating the square footage accurately ensures enough material is purchased, including an extra 10% to account for cuts and waste. Proper preparation of the subfloor is crucial for a smooth installation. The surface must be clean, dry, and level, with any imperfections addressed to prevent unevenness or squeaking over time. Concrete subfloors require a moisture barrier to protect against dampness, while wooden subfloors may need an underlayment for added cushioning and noise reduction. Allowing the laminate planks to acclimate in the room for 48 hours before installation prevents expansion or contraction after laying. The installation process begins with laying the underlayment, followed by the first row of planks placed groove-side against the wall with spacers to allow for expansion. Using a tapping block and pull bar ensures tight seams between planks without damaging the edges. Staggering the end joints by at least 12 inches in subsequent rows creates a natural, visually appealing pattern. Cutting planks to fit around door jambs, vents, or irregular walls requires precise measurements and a sharp saw—a jigsaw or circular saw works best for clean edges. While laminate flooring is relatively straightforward to install, challenges may arise in complex layouts or rooms with numerous obstacles. Transition strips between different flooring types provide a finished look, while quarter-round molding covers expansion gaps along baseboards. Although DIY laminate installation saves on labor costs, professional assistance may be warranted for intricate spaces or if uncertainty arises about moisture issues. A well-executed laminate flooring project transforms a room with minimal expense and effort, offering the beauty of natural materials without the high maintenance. By selecting quality materials, preparing the subfloor meticulously, and installing with precision, homeowners can enjoy durable, attractive floors that enhance their living space for years to come. The satisfaction of completing this DIY project lies not just in the cost savings, but in the tangible improvement to the home’s functionality and aesthetic appeal.


