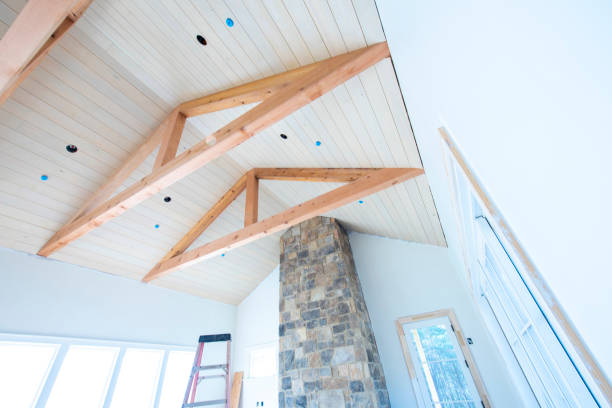
Recessed lighting offers a sleek, modern lighting solution that can enhance the ambiance and functionality of any room. For DIY enthusiasts, installing recessed lights is an achievable project that can dramatically transform a space without the need for bulky fixtures. While the process requires careful planning and attention to detail, with the right tools and preparation, homeowners can successfully upgrade their lighting with a professional-looking finish.
The first step in installing recessed lighting is careful planning. Determining the layout of the lights ensures even illumination and avoids overcrowding or shadowed areas. A common approach is spacing the lights evenly, typically four to six feet apart, depending on ceiling height and room size. It’s also essential to consider the type of recessed housing required—new construction housings are used when installing lights before the ceiling is finished, while remodel housings are designed for existing ceilings. Choosing the right trim style, such as baffle, reflector, or adjustable, further customizes the lighting effect to suit the room’s needs. Before cutting into the ceiling, it’s crucial to check for obstructions such as wiring, plumbing, or joists. A stud finder can help locate these obstacles, preventing costly mistakes. Once the layout is marked, a hole saw or drywall saw is used to cut precise openings for each light. Safety should always be a priority—turning off the power at the circuit breaker and verifying it with a voltage tester ensures protection from electrical hazards. Wiring the recessed lights requires connecting them to the existing electrical system. Many recessed fixtures come with built-in junction boxes and simple push-in connectors, making the wiring process more manageable for DIYers. Running Romex cable between each light and securing it with wire nuts ensures a stable connection. For larger projects, daisy-chaining multiple lights together simplifies the installation while maintaining a clean, organized setup. Once the lights are wired and secured in place, installing the trim completes the project. Most trims simply snap into the housing, creating a seamless look. After restoring power, testing each light ensures proper functionality. Installing recessed lighting as a DIY project can significantly improve a home’s lighting design with careful planning and attention to safety. By following these steps, homeowners can achieve a polished, professional result that enhances both aesthetics and functionality.


